Quick Guide: How to Take Photos for Your Solar Installation
At Electrical Masters, we need clear photos of your electrical setup to provide an accurate solar quote that meets Victoria’s 2025 standards. Here’s exactly what we need:
1. Meter Box (Outside View)
- Stand back 2 meters
- Include the entire box and the surrounding wall area
- Take during daylight

2. Switchboard
- Open cover completely
- Show all circuit breakers and safety switches
- Ensure labels are visible

Existing Inverter (if you have one)
- Show the whole inverter and the surrounding area
- Take a close-up of the information plate

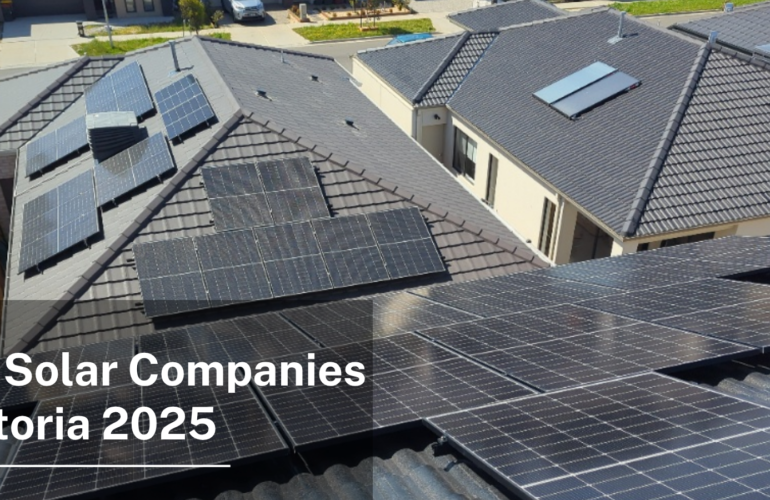
Proposed Solar Panel Location (Roof)
- Take several photos of your roof from ground level
- Try to capture different angles of the north, east, and west-facing roof areas
- Include any potential obstructions (chimneys, antennas, vents)

Proposed Inverter Location
- Take a photo of the wall area where you’d prefer the inverter to be installed
- Include approximately 2 meters of surrounding space
- Show nearby power points, if any
- Indicate scale by placing a common object nearby (e.g., a ruler)