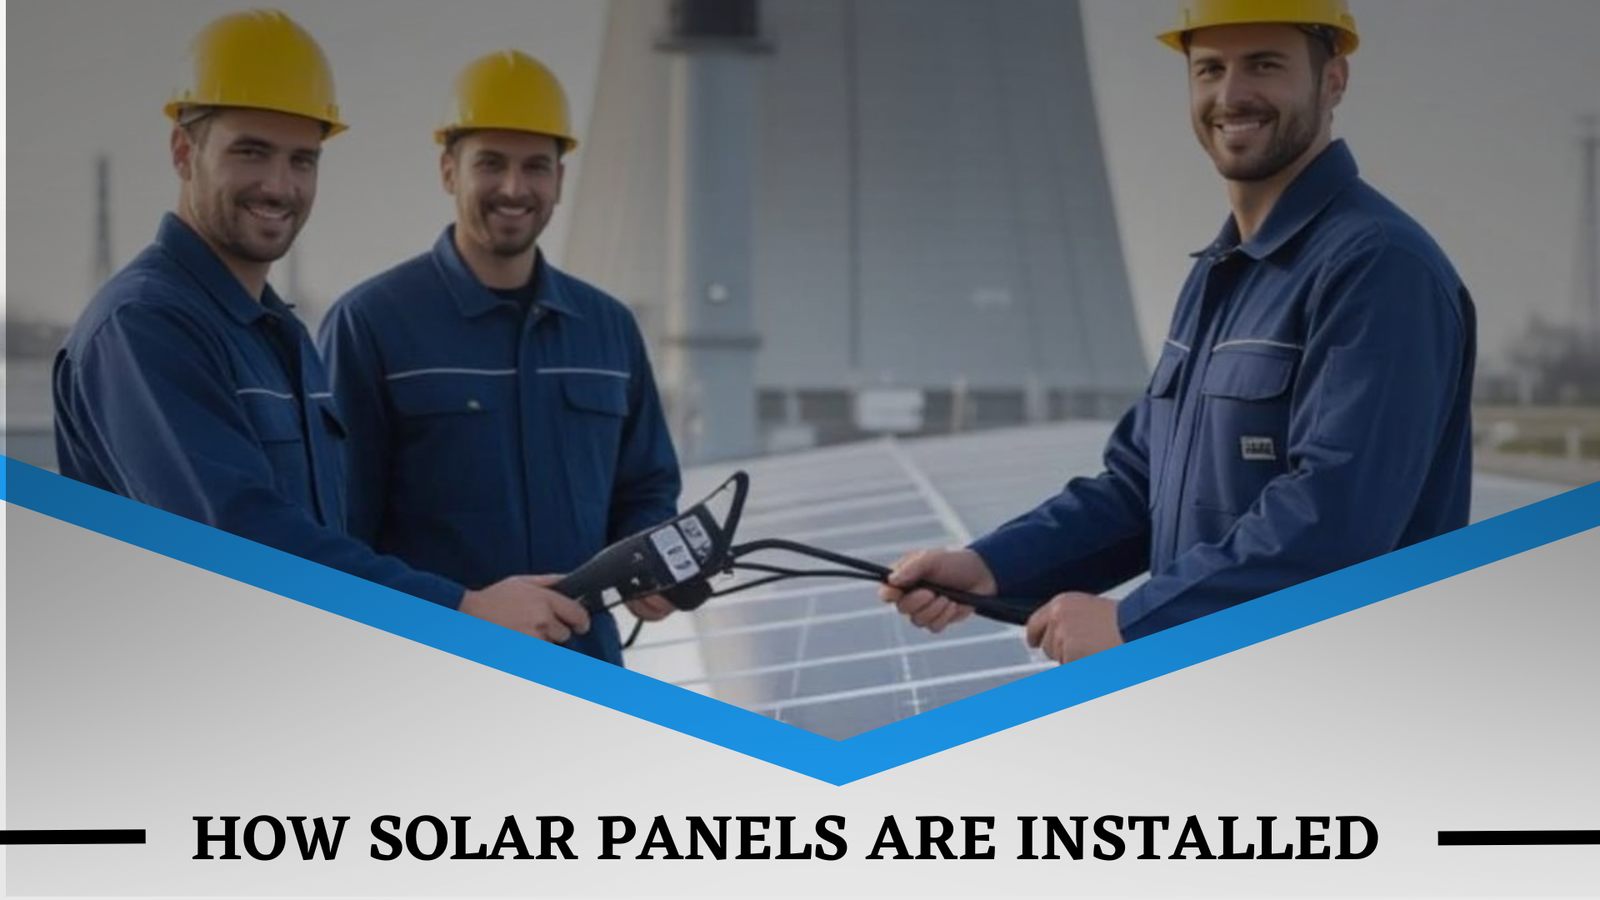
How Solar Panels Are Installed: A Complete, Easy-to-Understand Guide for Homeowners
If you’re thinking about switching to green energy, understanding how solar panels are installed will make you more comfortable about your decision and clear up any confusion. A lot of people in Australia want solar panels, but they don’t know what occurs on the day they are installed. This article goes over the whole procedure. That way, you’ll know exactly what to expect when you choose Electrical Masters, one of the best in-house solar installation companies in Victoria.
This extensive guide will show you every step of how solar panels are installed, explain why each step is important, how long it takes, and what makes a professional installation safe and effective.
Get a Free Quote
Before You Go Solar: Here’s Why the Installation Process Matters
A lot of people think that placing solar panels on the roof is all there is to it, but it’s actually a very planned procedure. It helps to know how solar panels are installed:
Make smarter decisions about system size and design
Compare installers and avoid poor-quality workmanship
Understand what installers will do at your home
Feel confident during each phase
Protect your manufacturer warranties
Every installation at Electrical Masters is handled by certified, in-house professionals rather than subcontractors, resulting in a long-lasting, high-quality system.
Step-by-Step Breakdown of How Solar Panels Are Installed
Below is the complete process of how solar panels are installed, explained in an easy way.
1. Site Inspection & Solar Assessment
The first step of how solar panels are installed is the site inspection. Experts visit your home to:
- Check roof condition and structure
- Measure available roof space
- Identify shading from trees or nearby buildings
- Check switchboard capacity
- Understand your energy usage
This stage makes sure that the system is set up just right for your home. Before we create your system, our solar designers at Electrical Masters use modern techniques to figure out how much sunlight it gets, how efficient it is, and how much it will produce over time.
2. Custom System Design
Once the inspection is complete, the design team prepares a layout showing:
- Where each panel will sit
- The direction and tilt for maximum performance
- Inverter placement
- Safety and wiring pathways
One of the most significant aspects of how solar panels are installed is system design, which determines how much electricity your panels will generate. Design excellence equals greater savings.
3. Approvals & Paperwork
Before installation day, installers handle:
Grid connection approval
Electrical safety documentation
Smart meter upgrade approval (if needed)
STC rebate paperwork
This phase makes sure that your solar system is in line with energy rules.
4. Preparing the Roof for Installation
Once approvals are done, the team prepares your roof. This stage of how solar panels are installed includes:
- Locating roof rafters
- Installing mounting brackets
- Ensuring waterproofing
- Making sure brackets align perfectly
The installation system is what keeps your panels safe for over 25 years. Using excellent brackets reduces roof leaks and increases durability, something Electrical Masters is well recognised for.
5. The Solar Panels Installing
With the mounts secured, the panels are carefully lifted onto the roof. Installers then:
- Fix panels onto the racking
- Connect them in the correct electrical configuration
- Secure wiring neatly to avoid damage
- Ensure proper spacing for airflow
This is the part that most people think of when they think of how solar panels are installed, yet it’s only one phase in the whole process.
6. Installing the Inverter
The inverter is the “brain” of your solar system because it converts DC electricity from your panels into usable AC electricity. During this stage of how solar panels are installed, your installer:
Mounts the inverter in a cool, shaded area
Connects the inverter to the switchboard
Sets up monitoring (Wi-Fi or 4G)
Choosing the right inverter location helps extend its lifespan. At Electrical Masters, we only choose high-efficiency inverter brands to ensure long-term reliability.
7. Wiring & Electrical Connections
Now the electrical work begins. Installers:
- Connect panel strings to isolators
- Run cables through conduits
- Connect inverter wiring to the home switchboard
- Install DC and AC isolators
- Add earthing and surge protection
This stage of the solar panel installation process must be completed by a certified electrician. Incorrect wiring might cause performance concerns or safety hazards, which means professional installation is required.
8. System Testing & Quality Checks
Before the system is switched on, the installer performs a complete safety inspection, including:
- Verifying all electrical connections
- Checking system voltage
- Testing inverter operation
- Confirming monitoring is active
- Ensuring roof fixings are secure
Electrical Masters follows strict Australian Standards to ensure your system is safe, compliant, and performing at its highest efficiency.
9. Grid Connection & Final Approval
Your installer asks your energy supplier to connect you to the electrical grid. Your smart metre will start recording your solar exports as soon as it gets the go-ahead.
Your system is now online, and this is the last step in how solar panels are installed.
10. Handover & Homeowner Education
Electrical Masters provides:
- A full handover pack
- Warranty documents
- System performance guide
- Monitoring app training
- Maintenance instructions
We make sure you fully understand your solar system, so you get the most out of it from day one.
How Long Does It Take to Install Solar Panels?
Most residential installations take 4 to 8 hours, depending on:
- System size
- Roof type
- Weather conditions
- Number of installers
Understanding how solar panels are installed helps homeowners prepare for installation day and plan their schedule easily.
Why Choosing Electrical Masters Makes a Difference
Electrical Masters is one of Victoria’s leading solar companies with an in-house installation team, meaning:
- No subcontractors
- Faster installation
- Better quality control
- Seamless communication
- Competitive pricing
- Long-term support
Our 5-star customer reviews reflect our commitment to quality and transparency. When you understand how solar panels are installed, you’ll see why choosing an experienced team matters so much.
Maintenance After Installation
A good installation makes maintenance easier. To keep your system efficient:
- Clean panels once or twice a year
- Trim shading trees
- Monitor production
- Get periodic inspections every 2–3 years
Electrical Masters offers affordable maintenance plans for long-term solar health.
Frequently Asked Questions (FAQs)
Usually 4–8 hours, depending on roof type and system size.
Yes, someone should be home for access, approvals, and inverter setup.
No. When done by professionals like Electrical Masters, proper waterproofing prevents any leaks.
Sunlight exposure, roof angle, shading, and system design.
Electrical Masters manages the entire process for you.
Once final grid approval is complete, usually within a few days after installation.
Final Thoughts
If you know how solar panels are installed, you can make smart choices and make sure you choose the right contractor to do the work. A well-planned and professionally done installation will give you greater efficiency, a longer system life, and more money saved.
Electrical Masters is ready to install a solar system that works well and lasts a long time if you want a reliable, experienced, 5-star-rated company in Victoria.
Talk to Our Expert