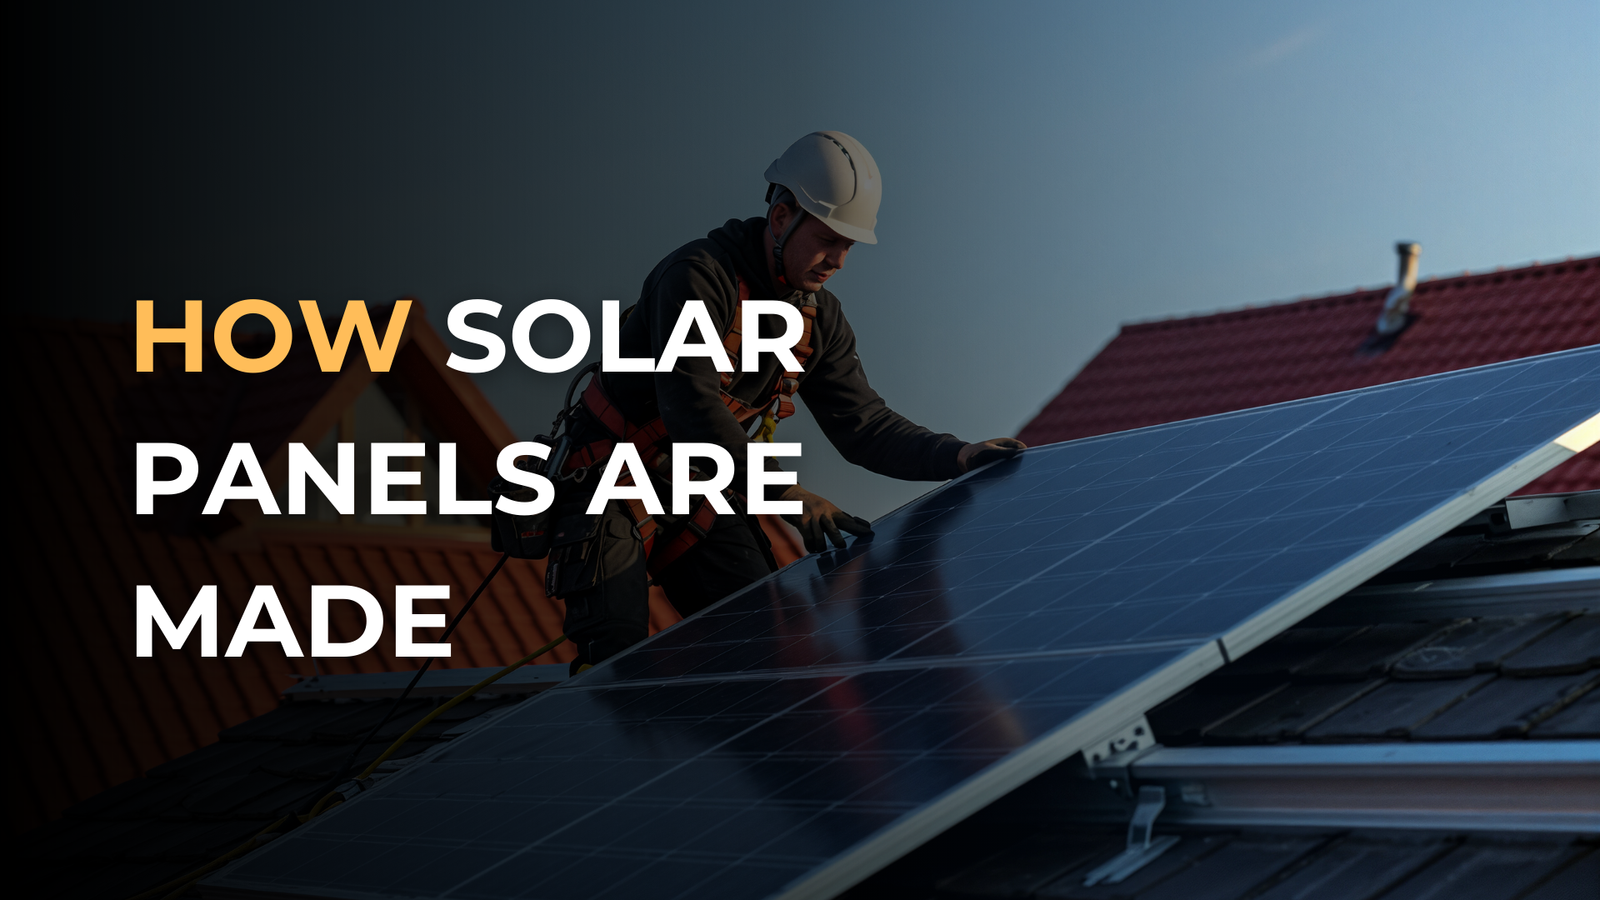
How Solar Panels Are Made: A Step-by-Step Guide to the Future of Clean Energy
Have you ever thought about how solar panels made and how they can turn sunlight into clean energy that you can use? Solar panels aren’t just sheets of glass on your roof; they’re the result of cutting-edge science, precise engineering, and new technologies.
Get a Free Quote
The Fascinating Process Behind Solar Technology
Solar energy is now the most cost-effective and long-lasting way of powering homes in Australia. Homeowners can better understand the expertise that goes into making solar panels and why it’s important to pay for a good installation if they know how solar panels made.
This guide will take you through the whole manufacturing process, from the raw materials to the final product. We’ll also talk about how companies like Electrical Masters make sure that every solar panel they install will work properly and last for a long time.
Step 1: The Core Ingredient – Silicon
Silicon, a chemical element found in quartz rock or sand, is at the centre of every solar panel. Silicon is a good choice since it is a good semiconductor, which means it can turn sunlight into energy very effectively.
The first step in making solar panels is to refine raw silicon. To make metallurgical-grade silicon, quartz is heated in an electric furnace to very high temperatures. Then, the material is cleaned up further more until it is 99.9999% completely pure solar-grade silicon.
Solar cells, which are the microscopic units that make up a solar panel, are made from this pure silicon.
Step 2: Creating Silicon Wafers
Next, the purified silicon is melted and shaped into solid cylindrical blocks known as ingots. These ingots can be either monocrystalline or polycrystalline, depending on the crystal structure.
- Monocrystalline panels are made from a single continuous crystal structure. They offer higher efficiency and a sleek black appearance, making them the premium choice for many Australian homeowners.
- Polycrystalline panels, made from multiple crystal fragments, are more affordable but slightly less efficient.
Once the ingots are ready, they are sliced into ultra-thin wafers — about as thick as a sheet of paper. This delicate cutting process is critical, as the thinner the wafer, the more efficiently it can convert sunlight without wasting material.
This step marks the beginning of the transformation from raw material to a functional solar cell.
Step 3: Doping – Giving Silicon Its Electrical Properties
In this step of how solar panels made, the wafers of silicon are treated to make them have both positive and negative electrical charges. This is called doping.
To make the wafer negative, a little amount of phosphorus is put on one side. To make it positive, boron is applied to the other side. When sunlight strikes the panel, it makes the electrons in the silicon move, which lets electricity flow through the circuit.
The photovoltaic (PV) effect is what makes solar power operate. It turns sunlight directly into electricity.
Step 4: Applying the Anti-Reflective Coating
Silicon naturally reflects sunlight, which means it doesn’t absorb the same amount of energy. To stop this, each wafer is coated with an anti-reflective layer.
This coating gives solar panels their unique blue or black colour and helps them soak up as much sunlight as they can. It’s an easy but important part of how solar panels made, because even a small change in how well they absorb light can make them far more efficient.
Step 5: Wiring and Cell Assembly
all treated silicon wafer becomes a solar cell, which is the basic part of any solar panel. These cells are meticulously soldered together with thin metal connectors to make a matrix that lets electricity flow from one cell to the next.
A solar panel usually has 60 or 72 cells that are arranged in a grid configuration. The whole thing is then sandwiched between layers of clear material that keep the cells safe from damage from the outside world.
It’s important to know that this step in how solar panels made takes a lot of accuracy. Even the smallest mistake in connecting or lining up can make the panel work rather poorly and last more poorly .
Step 6: Lamination and Framing
The solar cell structure is protected from the weather and designed durable by being sandwiched between layers of ethylene-vinyl acetate (EVA) and tempered glass. This is called lamination.
The top layer of glass keeps the cells safe from rain, wind, and UV rays. The backsheet seals the module so that moisture can’t get in.
After the panel is laminated, an aluminium frame is put around it to make it stronger. This frame lets the solar panel be securely attached to rooftops or ground systems, even in Australia’s harsh weather.
Step 7: Adding the Junction Box and Testing
The junction box, which has wire connections and a diode that stops current from flowing in the wrong direction, is added to the almost-complete solar panel at this point.
Testing is one of the most important steps in how solar panels are made. Each panel goes through strict tests of its power performance and quality to make sure it fulfils global requirements like ISO and IEC.
Manufacturers test for:
- Power output accuracy
- Voltage and current consistency
- Resistance to high temperatures and humidity
- Impact durability (hail and wind tests)
Only panels that pass these tests move forward for distribution and installation.
Step 8: Packaging and Shipping
After successful testing, panels are cleaned, labeled, and packaged for shipment. They’re carefully stacked and wrapped to prevent damage during transportation.
From here, they make their way to solar installers — like Electrical Masters — who ensure that each system is installed to perfection for maximum efficiency and longevity.
Why Knowing How Solar Panels Are Made Matters
Understanding how solar panels made isn’t just about curiosity — it’s about making informed decisions when choosing a solar system.
Here’s why it matters:
- Quality Control: Knowing the process helps you identify reputable brands that follow strict production standards.
- Performance and Longevity: The precision in manufacturing directly impacts your panel’s efficiency and lifespan.
- Sustainability: Modern production methods are increasingly focused on recycling silicon and reducing carbon emissions.
Investment Confidence: When you understand the craftsmanship behind your solar system, you gain confidence that your investment will deliver long-term returns.
Why Choose Electrical Masters for Solar Installation
We don’t just put up solar panels at Electrical Masters; we also contribute years of experience and skill to every job. Our own installation team makes sure that each system has been designed to meet your home’s energy needs. The panels are made using the same rigorous, science-based procedure that we talked about previously.
We only work with trusted, high-quality manufacturers, so we know that every panel we install has been carefully examined for quality. Our process is open, dependable, and focused on helping you save as much energy as possible, from the first discussion to the final installation.
If you want to discover how solar panels made and want to switch to clean, renewable energy, our specialists can help you do so with assurance.
Final Thoughts
The process of how solar panels made , from raw silicon to a working energy system, shows how technology, precision, and sustainability all work together to drive the renewable revolution.
As solar energy continues to change Australia’s future, it’s important to choose a reliable installation who knows how the system works so that it will work properly for many years.
Are you ready to start your solar journey? Call Electrical Masters today for a free consultation and find out how high-quality solar panels can change the way your home gets electricity in the future.
Talk to Our Expert